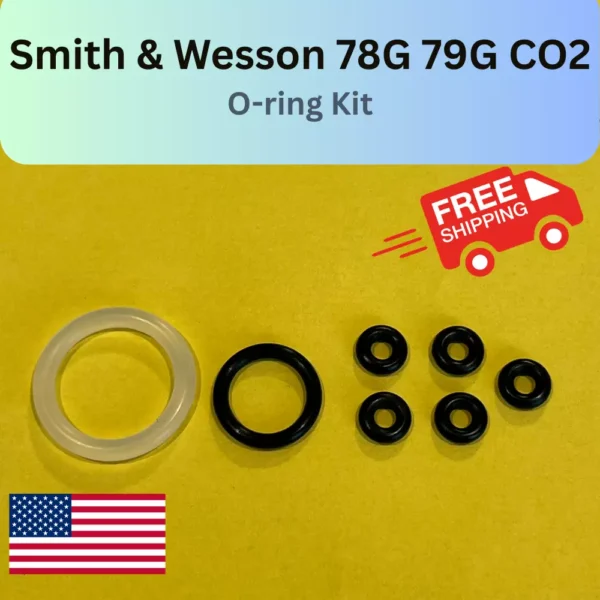
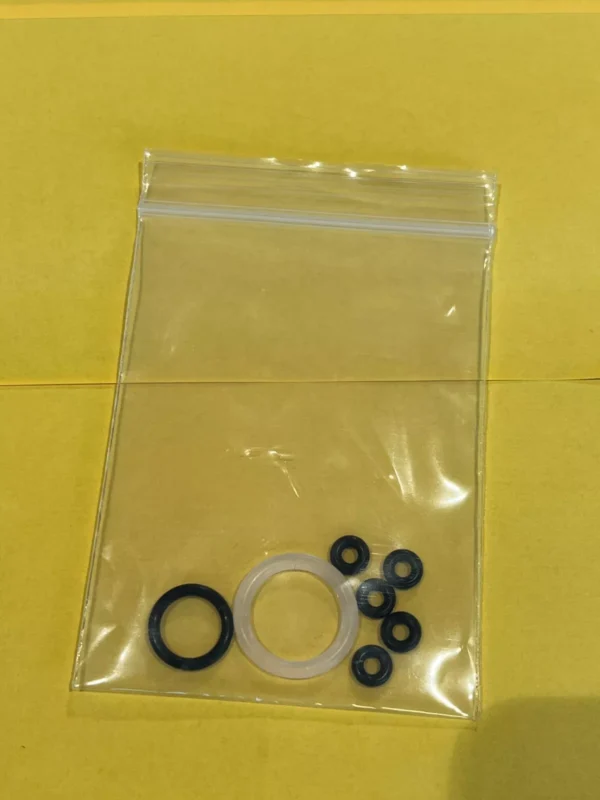
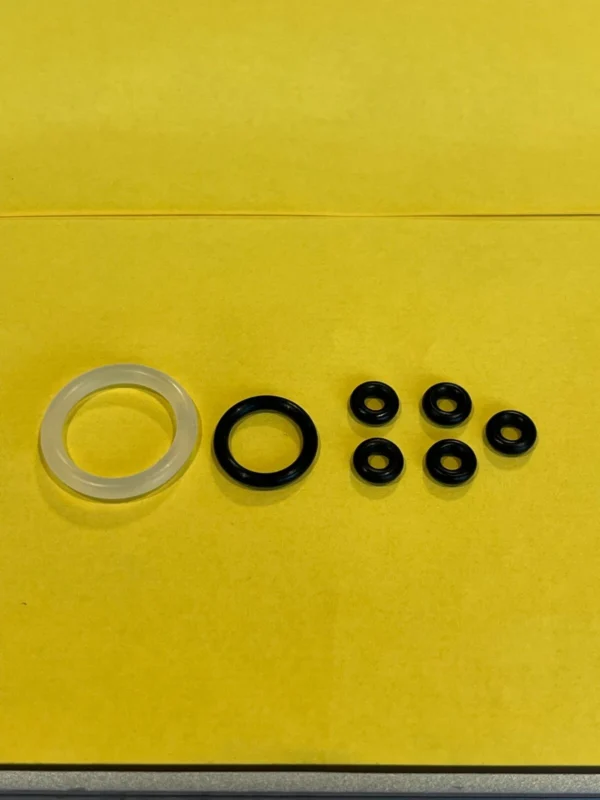
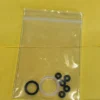
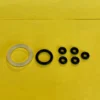
This O-Ring Seal Kit is specifically designed for the Smith & Wesson 78G (.22 cal) and 79G (.177 cal) CO2 pistols, providing everything you need to keep your pistol in top working condition. The kit includes a full set of seven high-quality O-rings to replace the most commonly used seals, making it ideal for re-sealing one or even two pistols.
Included in the kit are:
Piercing Body/Gas Cap Seals (White Urethane O-Ring): These premium urethane seals are known for their durability and high-quality performance in CO2 tube cap applications.
Piercing Pin Seals (O-Ring)
Valve Body Plug Seals (O-Ring)
Valve Connector/Transfer Port Seals (O-Ring)
Breech Bolt/Probe Seals (O-Ring) – The smaller size is for the 79G, and the larger one is for the 78G.
This kit is the perfect solution to restore your pistols’ functionality, ensuring proper seals in all critical areas. Additionally, a printed copy of an exploded view and parts list is included, showing seal locations and part numbers for easy identification during installation.
If you have any questions or need assistance, feel free to reach out.
Exploded Diagram
[link removed by eBay]
Changing the O-Ring seals on a Smith & Wesson 78G is a straightforward process, but it requires a little care to ensure everything is done properly. Here’s a step-by-step guide on how to replace the O-Rings in your 78G CO2 pistol:
Tools and Materials You’ll Need:
Replacement O-Ring seal kit
Small flathead screwdriver (for gently prying out old O-Rings)
Lubricant (preferably silicone-based, to lubricate the new O-Rings)
A clean work surface (to avoid losing small parts)
Step-by-Step Instructions:
1. Ensure Safety
Make sure your 78G pistol is unloaded and depressurized (remove any CO2 cartridge if still in the chamber).
Clear the gun of any ammunition, and ensure the barrel is not obstructed.
2. Disassemble the Pistol
Remove the grips: Use a small screwdriver or your hands to unscrew and remove the grips. This will give you access to the internal parts.
Remove the CO2 tube: Unscrew the CO2 cartridge cap from the piercing assembly and remove the empty cartridge. Then, carefully unscrew the gas tube from the frame if necessary.
3. Locate the Seals
The O-Rings on the 78G are located in several parts:
Piercing Body/Gas Cap: The white urethane seal in the gas tube cap.
Piercing Pin: The O-Ring seal around the piercing pin.
Valve Body Plug: The O-Ring seal in the valve body.
Valve Connector/Transfer Port: The O-Rings around the valve connector.
Breech Bolt/Probe: The O-Rings on the breech bolt, one for the .22 cal (larger) and one for the .177 cal (smaller).
4. Remove the Old O-Rings
Piercing Body/Gas Cap Seal: Use a small flathead screwdriver to carefully pry out the old white urethane O-Ring from the CO2 piercing cap.
Piercing Pin Seal: Gently remove the O-Ring around the piercing pin. It may need to be worked out carefully.
Valve Body Plug Seal: Take out the old O-Ring seal located at the valve body plug.
Valve Connector/Transfer Port Seals: These seals may be a bit tricky, but use a small pick or flathead screwdriver to remove them.
Breech Bolt/Probe Seals: There will be two of these (one for the .22 and one for the .177). Gently remove both.
5. Clean the Parts
Clean the parts you’re working with to remove any old lubricant, dirt, or debris. Use a clean cloth or paper towel and some mild solvent or soap and water. Make sure everything is dry before proceeding.
6. Lubricate the New O-Rings
Lightly lubricate the new O-Rings with silicone grease. This ensures a proper seal and prevents damage to the O-Rings during installation.
7. Install the New O-Rings
Piercing Body/Gas Cap Seal: Place the new white urethane O-Ring into the CO2 gas cap. Ensure it sits properly in the groove.
Piercing Pin Seal: Slide the new O-Ring onto the piercing pin, making sure it’s seated evenly.
Valve Body Plug Seal: Insert the new O-Ring into the valve body plug area.
Valve Connector/Transfer Port Seals: Carefully fit the new O-Rings onto the valve connectors and transfer ports.
Breech Bolt/Probe Seals: Install the correct O-Ring (larger for .22, smaller for .177) onto the breech bolt or probe.
8. Reassemble the Pistol
Once all O-Rings are in place, reverse the disassembly steps:
Reinstall the valve body plug, valve connector, and CO2 tube.
Tighten all screws and reattach the grips.
Double-check everything is securely fastened.
9. Test the Pistol
Insert a new CO2 cartridge and tighten the piercing assembly.
Test the function of the gun to make sure there are no leaks and everything is working smoothly.
10. Final Check
• • After testing, check for leaks around the O-Rings (especially the CO2 seal and valve areas). If any leaks are found, make sure the O-Rings are seated correctly, and that they’re properly lubricated.


Reviews
There are no reviews yet.