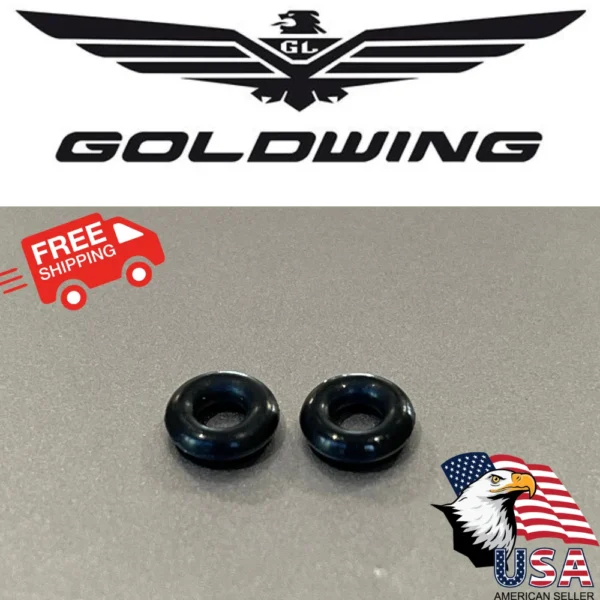
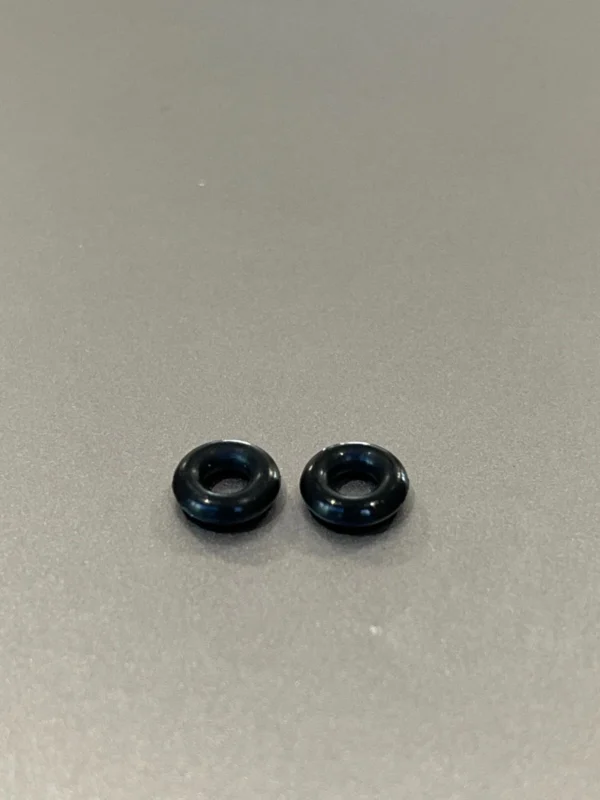
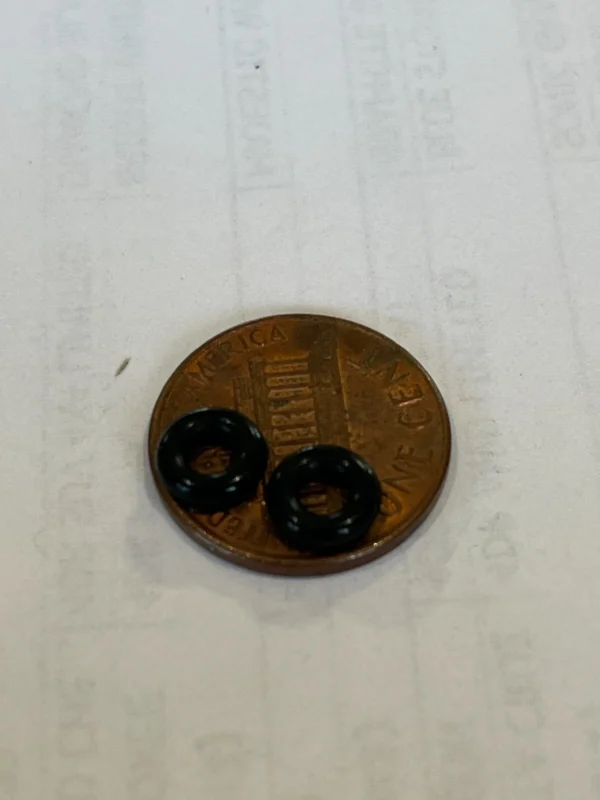
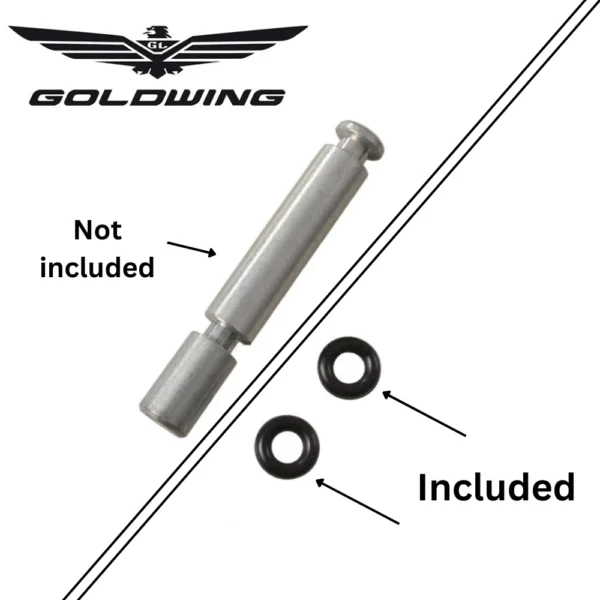
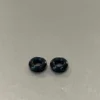
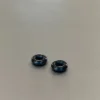
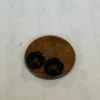
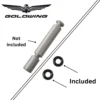
88-00 HONDA GL 1500 GL1500 GOLD WING Carburetor Accelerator Pumo Fuel Pipe ORING
$7.99
Replacing the carburetor accelerator pump fuel pipe O-ring on a 1988-2000 Honda GL1500 Gold Wing requires careful disassembly and attention to detail to avoid damaging components or losing small parts. Below is a step-by-step guide based on available information and general motorcycle carburetor repair principles. Note that you’ll need the Honda GL1500 Service Manual for specific torque values and detailed diagrams, as well as a replacement O-ring.
Part # 16026-MAM-000 (O-ring only)
Tools and Materials Needed:
- Honda GL1500 Service Manual (for reference)
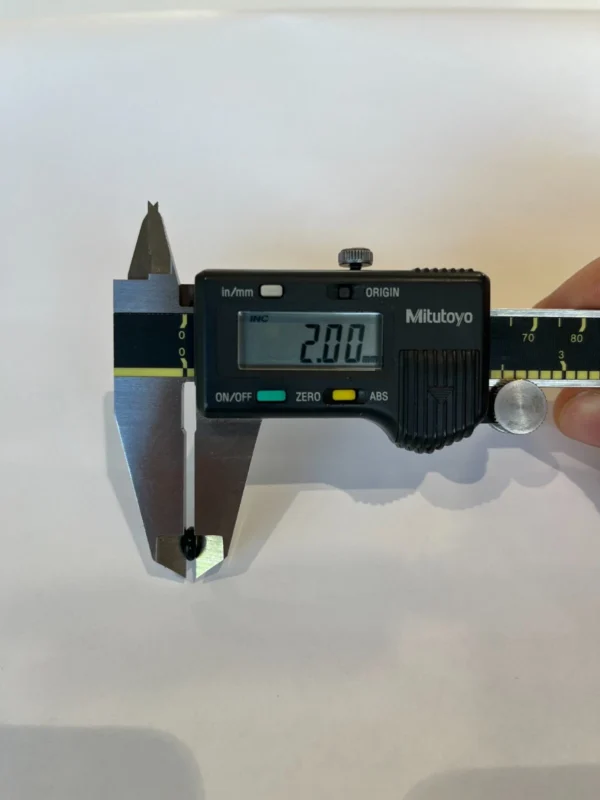
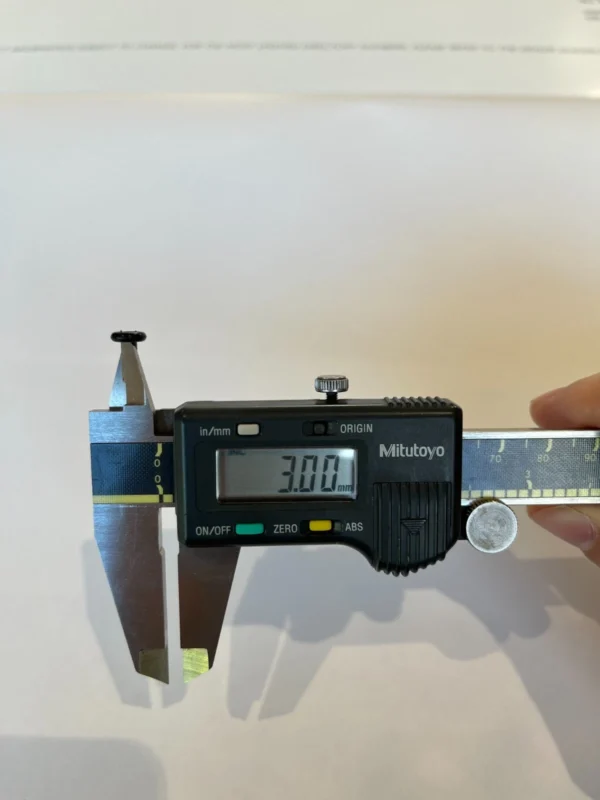
- Replacement O-ring (specific to the accelerator pump fuel pipe, e.g., 3.8 x 2.0 mm as per Randakk’s kit)
- Carburetor rebuild kit (optional, for other components like the accelerator pump diaphragm)
- Screwdrivers (Phillips and flathead)
- Socket set and wrenches
- Needle-nose pliers
- Clean rags and carburetor cleaner
- Lubricant (e.g., Vaseline or silicone grease for O-ring installation)
- Container (to organize small parts)
- Compressed air (for cleaning passages)
- Torque wrench (for precise reassembly)
Step-by-Step Instructions:
- Preparation and Safety:
- Turn off the fuel petcock: Ensure the fuel supply is off to prevent fuel spillage.
- Disconnect the battery: Remove the negative terminal to avoid electrical issues.
- Work in a well-ventilated area and have a fire extinguisher nearby due to fuel handling.
- Remove the Carburetor Assembly:
- Access the carburetors: Remove the false gas tank covers, air cleaner cover, and air filter. Use needle-nose pliers to release hose clamps and disconnect the two hoses attached to the air cleaner housing. Lift the housing out carefully.
- Disconnect fuel and vacuum lines: Remove the fuel line from the fuel pump to the carburetors (soak up any spilled fuel immediately). Disconnect the vacuum hose and air cutoff valve, ensuring you don’t lose the O-rings sealing the valve.
- Remove throttle and choke cables: Loosen the screw holding the choke cable and detach the two throttle cables (push-pull configuration).
- Remove piston set covers: Unscrew the four piston set covers (two screws each) on the carburetor assembly.
- Slide out the carburetor assembly: Carefully maneuver the carburetor assembly out of the frame. This may require some wiggling due to tight fitment.
- Disassemble the Carburetor:
- Remove the float bowl: Focus on the right-hand (RH) carburetor, as it houses the accelerator pump. Remove the float bowl screws (use 4 x 16 mm screws to avoid stripping threads) and carefully lift off the float bowl. Caution: Do not lose the alignment dowels or existing O-rings.
- Locate the accelerator pump and fuel pipe: The accelerator pump is in the RH carburetor float bowl, and the fuel pipe (with the O-ring) is part of the pump circuit. The O-ring seals the fuel pipe to prevent leaks.
- Replace the O-ring:
- Remove the old O-ring: Carefully remove the accelerator pump fuel pipe O-ring (typically 3.8 x 2.0 mm). Inspect it for wear, cracking, or deformation, which can cause leaks or poor pump performance.
- Clean the fuel pipe and surrounding area: Use carburetor cleaner and compressed air to ensure the fuel pipe and accelerator pump nozzles are free of debris. If the nozzles are clogged, use a .013-inch wire bristle to clear them.
- Install the new O-ring: Apply a small amount of lubricant (e.g., Vaseline or silicone grease) to the new O-ring to ease installation and prevent damage. Carefully slide it onto the fuel pipe, ensuring it seats properly without twisting. If the O-ring is slightly thicker (e.g., from an auto parts store), ensure it fits snugly with lube.
- Verify fitment: Ensure the O-ring matches the original in diameter and thickness for a proper seal.
- Reassemble the Accelerator Pump and Float Bowl:
- Reattach the accelerator pump: Temporarily reassemble the pump to the float bowl to test its function. Place the check valve pipe into the pump, fill the bowl with fresh fuel or distilled water, and manually operate the pump lever. Fuel or water should squirt from the accelerator pump nozzles in the carburetor air horn if working correctly.
- Secure the float bowl: Reinstall the float bowl with the correct 4 x 16 mm screws, ensuring proper orientation (drain screws inboard).
- Check alignment dowels and other O-rings: Ensure all dowels and O-rings are in place to prevent leaks.
- Reinstall the Carburetor Assembly:
- Slide the carburetor assembly back into the frame: Reconnect the throttle cables, choke cable, piston set covers, air cutoff valve, vacuum hose, and fuel line. Ensure all connections are secure and O-rings are not damaged.
- Reattach the air cleaner housing: Reconnect the hoses and secure the housing with bolts. Reinstall the air filter and cover.
- Reinstall the false gas tank covers: Secure them with the appropriate fasteners.
- Test the System:
- Turn on the fuel petcock: Check for leaks around the carburetor and fuel lines.
- Reconnect the battery: Restore power to the system.
- Start the engine: Verify smooth operation and check for proper acceleration. If the engine floods or hesitates, recheck the accelerator pump and O-ring installation.
- Adjust the accelerator pump: If necessary, adjust the clearance between the adjusting arm and stopper to 10 mm (0.4 in) by bending the arm, as specified for similar models.
- Final Checks:
- Inspect for leaks: Ensure no fuel leaks from the fuel pipe or carburetor.
- Clean the squirters: Confirm the accelerator pump nozzles are clean and functioning, as clogged nozzles can mimic O-ring issues.
- Sync the carburetors: If the bike runs unevenly, synchronize the carburetors per the Honda GL1500 Service Manual.
Tips and Warnings:
- Reference the manual: The Honda GL1500 Service Manual is critical for torque specs and assembly details.
- Handle small parts carefully: Keep track of screws, dowels, and O-rings in a container to avoid loss.
- Check related components: Issues like flooding after sitting may indicate float valve problems or clogged passages, so inspect these while the carburetor is apart.
Troubleshooting:
- If the pump doesn’t squirt fuel: Check for clogged nozzles or a faulty diaphragm. Clean with a .013-inch wire bristle or replace the diaphragm.
- If flooding occurs: Verify float valves are seating properly and the new O-ring is correctly installed.
- Poor performance: Ensure the accelerator pump circuit and fuel pipe are clean and the O-ring seals properly.
This process assumes moderate mechanical skill. If you’re inexperienced, consider watching tutorials like the one from Octane Restorations on YouTube for visual guidance on carburetor removal. Always double-check your work to ensure a proper seal and avoid fuel leaks. If you encounter issues or need further clarification, consult the Honda GL1500 Service Manual or a professional mechanic.



Reviews
There are no reviews yet.