1
/
of
4
The Frugal Fixer
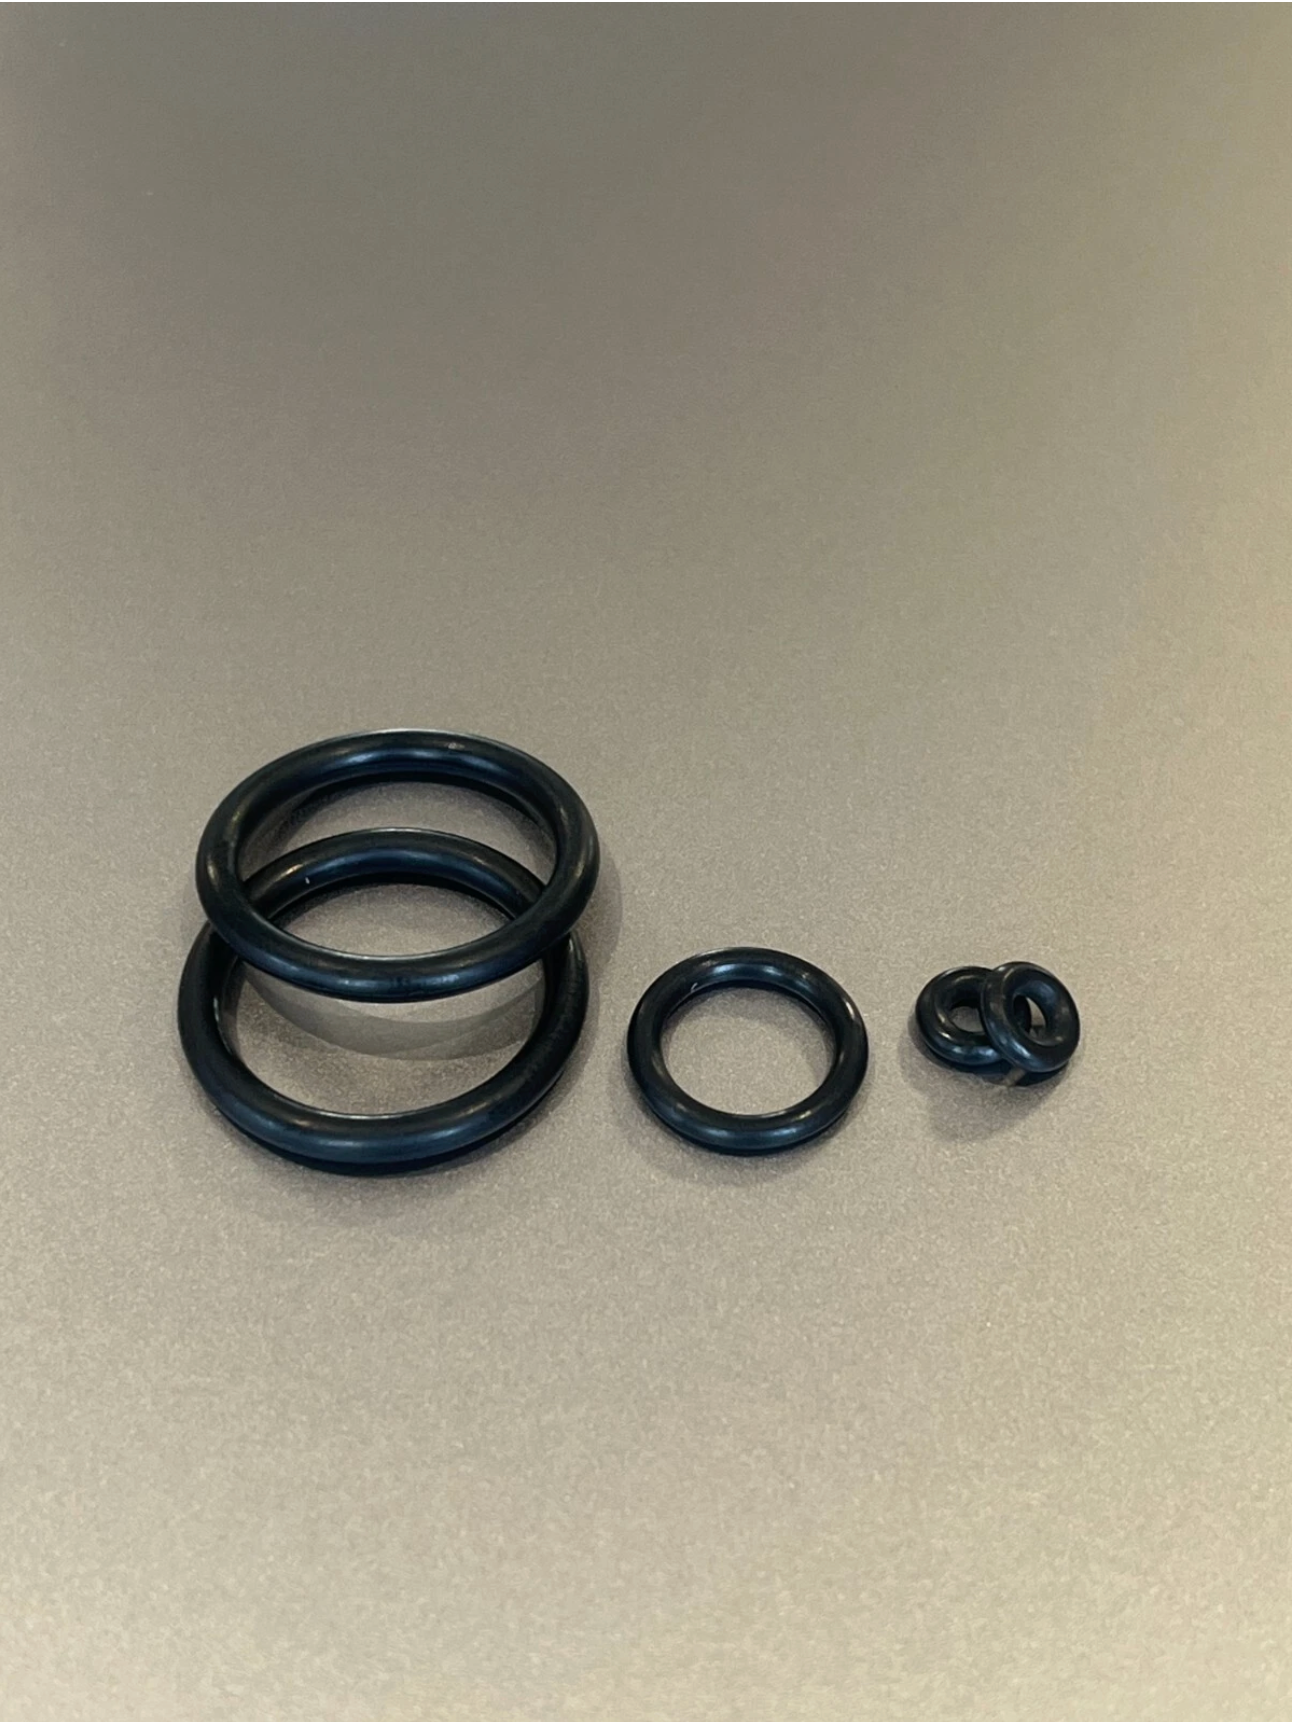
Daisy Powerline 717 747 777 Seal Reseal Repair O-Ring Kit Total 5 0-Rings Kit
Daisy Powerline 717 747 777 Seal Reseal Repair O-Ring Kit Total 5 0-Rings Kit
Regular price
$7.99 USD
Regular price
Sale price
$7.99 USD
Quantity
Couldn't load pickup availability
Daisy Powerline 717, 747, 777 Reseal O-Ring Kit
Revive your Daisy Powerline 717, 747, or 777 air pistol with this comprehensive reseal kit! Designed specifically for these models, each kit contains all the essential O-rings needed for two complete valve and piston pump rebuilds. Made in the USA from durable Buna 70 Nitrile rubber, these black O-rings ensure a reliable seal.
Kit Contents (Total of 5 O-Rings):
- (1) Pump Seals (O-Ring)
- Bolt/Probe Seals (O-Ring)
- (1) Stem Seals (O-Ring)
- (1) Large Outer Valve Seals (O-Ring)
- (1) Inner Valve Seals (O-Ring)
- (1) Bolt/Probe Seals (O-Ring)
Features:
- Enough O-rings for full reseals, keeping your pistol ready for action.
- Does not include oil wiper (sold separately if needed).
- Always in stock—no delays!
Shipping:
- Ships via USPS First Class Mail without tracking, USA only.
Thank you for choosing this kit to bring your Daisy Powerline back to peak performance!
Instructions: How to Replace the Daisy Powerline 717, 747, 777 Seal Repair O-Ring Kit
Tools Needed:
- Small Phillips and flathead screwdrivers
- Tweezers or small needle-nose pliers
- Light lubricant (e.g., silicone oil or pellgun oil, non-petroleum-based)
- Clean cloth or rag
- Replacement O-ring kit for Daisy Powerline 717, 747, 777
Steps:
- Safety First:
- Ensure the pistol is unloaded and not pressurized. Remove any CO2 cartridge or discharge any remaining air by dry-firing in a safe direction.
- Disassemble the Pistol:
- Remove the grips by unscrewing the grip screws (usually Phillips head) on both sides of the handle.
- Locate and remove the screws holding the main body halves together (typically 2-4 screws, depending on the model). Gently separate the halves, keeping track of screw locations.
- Carefully lift out the valve assembly, pump piston, and bolt/probe assembly. Note their orientation for reassembly.
- Remove Old O-Rings:
- Using tweezers or a small flathead screwdriver, carefully remove the old O-rings from the following locations:
- Pump Seal: On the piston head in the pump tube.
- Large Outer Valve Seal: Around the exterior of the valve body.
- Inner Valve Seal: Inside the valve assembly where the valve stem sits.
- Stem Seal: On the valve stem at the base of the valve.
- Bolt/Probe Seal: Around the bolt or probe that seals the breech.
- Clean each area with a cloth to remove debris or old lubricant.
- Install New O-Rings:
- Lightly lubricate each new O-ring with silicone oil to ease installation and ensure a good seal.
- Place the new O-rings in their respective locations:
- Pump Seal: Stretch onto the piston head groove.
- Large Outer Valve Seal: Fit around the valve body exterior.
- Inner Valve Seal: Insert into the valve assembly interior.
- Stem Seal: Slide onto the valve stem base.
- Bolt/Probe Seal: Match the correct size (use the one that fits snugly) and install on the bolt/probe.
- Test fitment—O-rings should sit snugly without excessive stretching or looseness.
- Reassemble the Pistol:
- Reinstall the valve assembly, pump piston, and bolt/probe into their original positions within one half of the pistol body.
- Carefully align and close the body halves, ensuring no wires or components are pinched.
- Secure the screws, starting with a light tighten and then fully tightening in a cross pattern.
- Reattach the grips and tighten the grip screws.
- Test the Repair:
- Pump the pistol (for 717) or insert a CO2 cartridge (for 747/777) and test for leaks by listening for hissing or applying soapy water to joints (bubbles indicate leaks).
- Fire a few test shots to ensure proper operation and sealing.
- Final Adjustments:
- If leaks persist, disassemble and check O-ring placement or try a different-sized bolt O-ring (if multiple sizes are provided). Re-lubricate if needed.
Tips:
- Work in a clean, well-lit area and keep small parts organized.
- Avoid over-tightening screws to prevent stripping threads.
Share