The Frugal Fixer
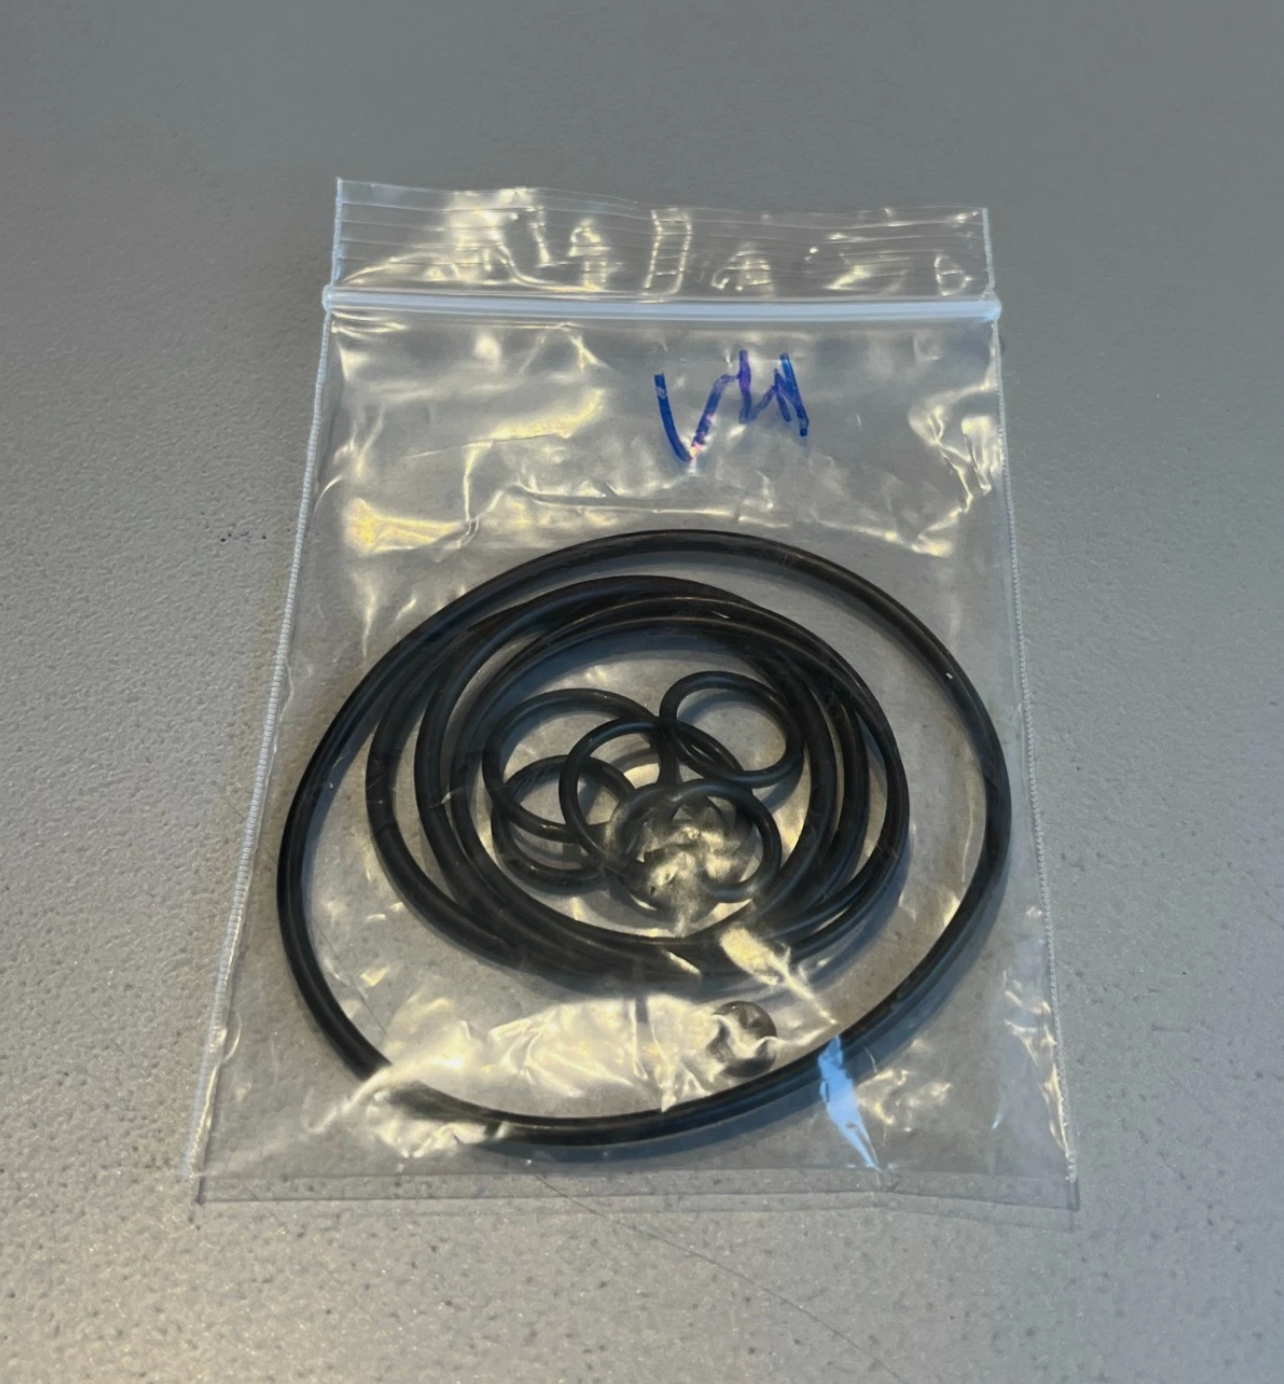
GPR V4 Street Steering Damper Rebuild Reseal Kit Seals, O-Rings, Complete
GPR V4 Street Steering Damper Rebuild Reseal Kit Seals, O-Rings, Complete
Couldn't load pickup availability
Rebuilding the GPR V4 Steering Stabilizer
The GPR V4 steering stabilizer is a hydraulic damping unit commonly used on motorcycles for both street and off-road applications. Rebuilding it involves changing the oil, replacing seals (O-rings), cleaning components, and reassembling to prevent leaks and restore function. According to official GPR sources, maintenance like annual oil changes is recommended to prevent wear, but a full rebuild is typically needed if the unit is leaking or damaged.
**Important Warnings:**
- This is a hydraulic unit; improper reassembly can lead to air pockets, leaks, or failure, potentially affecting steering safety.
- Use only compatible parts; mismatched O-rings or oil can cause premature wear.
- Work in a clean environment to avoid contaminating the internals.
- GPR V4 comes in street and off-road (fat bar) variants; steps are similar, but oil weight may differ.
- Always test the unit after rebuild (e.g., check for leaks and damping adjustment) before riding.
Recommended Oil
Based on official GPR recommendations, use synthetic fork oil:
- Street applications**: 15 wt (e.g., Motul Fork Oil Expert 15W or Bel-Ray High Performance Fork Oil 15W).
- Dirt/off-road applications**: 3 wt (e.g., Bel-Ray High Performance Fork Oil 3W or similar lightweight synthetic).
Users have reported success with alternatives like 10 wt fork oil, ATF (automatic transmission fluid) around 7 wt for a balance, or whatever fork oil is on hand, but stick to GPR's specs for best results. You'll need about 50 ml per unit.
Tools Needed
- Allen wrenches (3/64" or 7/64" US pitch; also metric sizes like 5mm for mounting).
- T15 Torx socket.
- O-ring pick or small flat-blade screwdriver.
- Circlip (snap ring) pliers.
- Syringe or squeeze bottle with sharp tip (e.g., from a fork oil level tool) for filling oil.
- Small container for submerging the unit in oil.
- Loctite (threadlocker) for screws.
- Rags, paper towels, and brake/surface cleaner for cleanup.
- Optional: Small screws or bleeder ports tools if using that method.
Step-by-Step Rebuild Instructions
1. Preparation: Remove the stabilizer from the bike (refer to your model's install manual for reversal). Drain old oil by removing the bleeder screws (small screws on the back) and working the damping arm back and forth. Clean the exterior with brake cleaner.
2. Disassembly:
- Use the 3/64" Allen wrench or T15 Torx to remove any set screws or caps.
- Remove the circlip (snap ring) holding the halves together using circlip pliers.
- Carefully separate the two halves of the case. Use an O-ring pick to remove old O-rings and seals without scratching surfaces.
- Inspect internals for wear (e.g., aluminum hub scoring); clean all parts thoroughly with brake cleaner.
- Note Replace all seals, even if they look okay.
3. Reassembly and Oil Filling (Key Step to Avoid Air Bubbles):
- Option 1 (Recommended for no air): Pour new oil into a small container. Submerge the disassembled parts in the oil. Reassemble the unit underwater (in the oil) to prevent air pockets. Install new O-rings (lubricate with oil first), align halves, secure circlip, and apply Loctite to screws.
- Option 2: Assemble dry, then fill via bleeder screws. Use a syringe to inject oil into one port while the other is open to vent air. Work the damping arm back and forth repeatedly (may take time) to bleed air. Top off as needed.
- If needed, let the unit sit submerged overnight before final assembly.
- Tighten all fasteners securely but don't overtighten to avoid stripping.
4. Cleanup and Testing:
- Wipe excess oil with rags and cleaner.
- Adjust the damping knob to ensure smooth operation (it should have infinite adjustment without clicks).
- Reinstall on the bike and test for leaks over a few days. Ride cautiously at first to verify damping.
Share