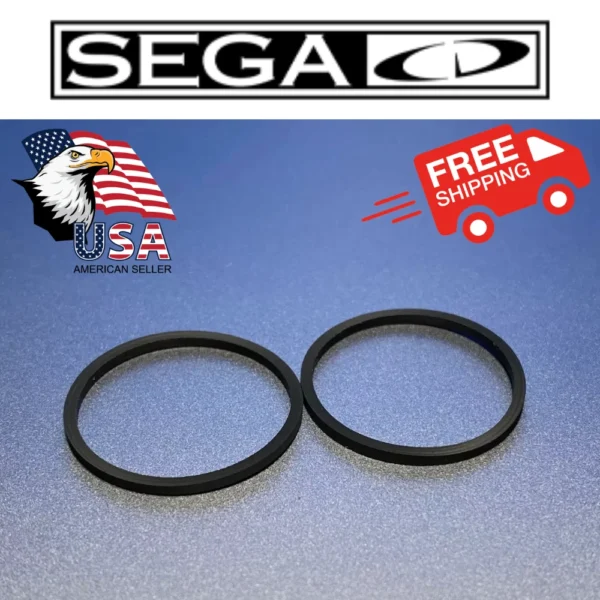
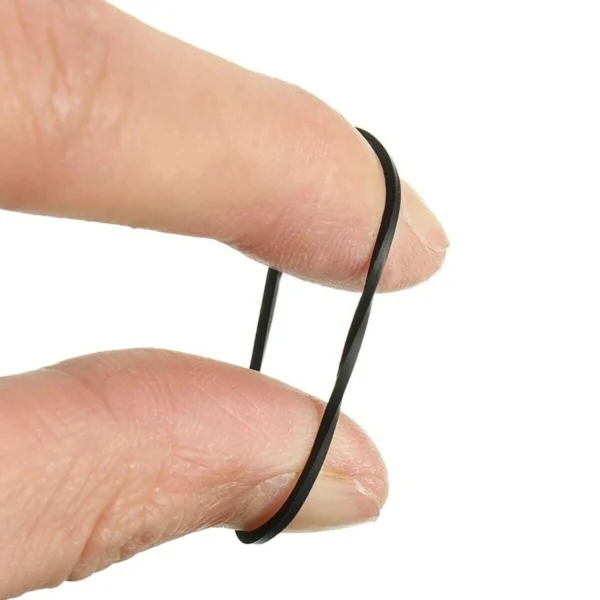
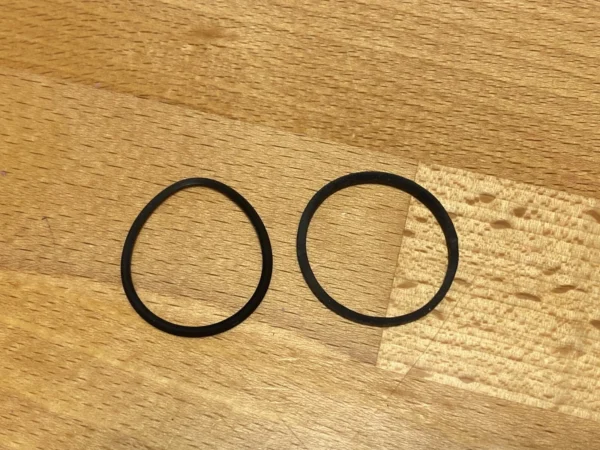
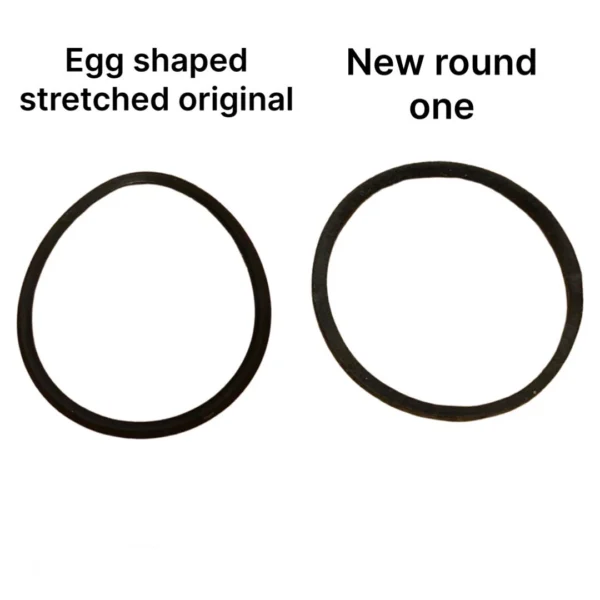
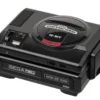
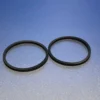
Sega CD Replacement Drive Belt – Model 1 & Mega CD System Console Repair Part
$6.99
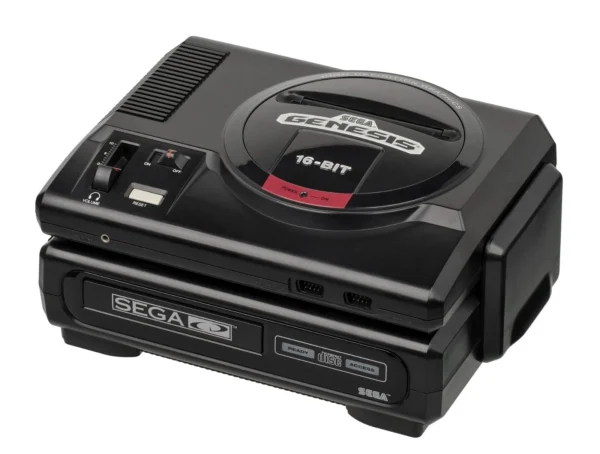
Replacing the drive belt on a Sega CD Model 1 (often paired with the Sega Genesis, sometimes referred to as “Sega One” in casual contexts) is a straightforward repair for issues like a stuck or sluggish CD tray. Below is a step-by-step guide based on reliable sources and technical details for the Sega CD Model 1.
Tools Needed
- Phillips screwdriver (for case and internal screws)
- Small flathead screwdriver or toothpick (for releasing tabs)
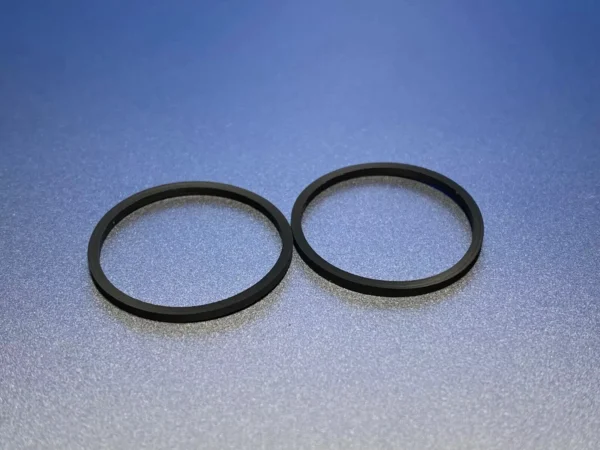
- Replacement drive belt (square belt compatible with Sega CD Model 1 or Mega CD)
- Isopropyl alcohol and cotton swabs (for cleaning grease)
- Lithium grease (pure or white lithium, not spray-on, for relubricating)
- Optional: Tweezers (for handling the belt)
Step-by-Step Instructions
- Preparation and Safety
- Unplug all cables from the Sega CD and Genesis to avoid electrical hazards.
- Work on a clean, static-free surface to protect internal components.
- Ensure you have a compatible replacement belt (check listings for Sega CD Model 1 or Mega CD).
- Disassemble the Sega CD
- Remove the bottom screws: Flip the Sega CD upside down and remove the six Phillips screws on the bottom.
- Remove top screws: Flip it right side up and unscrew the two black Phillips screws near the expansion connector (where it attaches to the Genesis).
- Lift the top cover: Carefully lift off the top cover, minding the expansion connector to avoid damaging it.
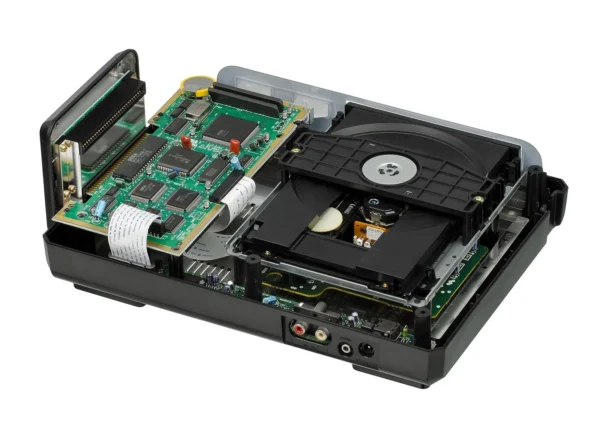
- Remove the RF shield: Undo the three screws on the RF shield over the CD drive (one on each side, one at the back, which also secures the sub-board). Lift the shield and set it aside.
- Access the CD Tray
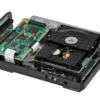
- Remove the clamp: Locate the clamp over the CD drive’s spindle (center of the drive). Unscrew it and lift it off to expose the drive mechanism.
- Open the tray: Manually rotate the large black gear near the spindle (visible after removing the clamp) to open the CD tray. This gear drives the tray mechanism.
- Remove the small cover: Near the rear of the tray, unscrew or release a small cover (next to the rear tray tab) to access the tray release tabs.
- Remove the Tray
- Release the side tabs: Locate two tabs near the front of the drive chassis (one on each side). Insert a small screwdriver or toothpick into the hole on each tab, gently pull the tab away from the tray, and carefully pull the tray forward.
- Release the rear tab: While pulling the tray, release the rear tab (next to the cover removed earlier) to fully free the tray. Move slowly to avoid forcing or breaking plastic components.
- Set the tray aside: Once removed, place the tray in a safe spot.
- Access and Replace the Drive Belt
- Remove the belt cover: With the tray out, locate a black plastic cover over the white pulley where the belt is wrapped. Release the tab near the spindle, slide the cover to the left, and lift it off to reveal the belt.
- Remove the old belt: Carefully lift off the worn or stretched belt. It may be loose or degraded, which causes tray issues.
- Install the new belt: Place the new square belt around the pulley and gears, ensuring it sits snugly without twisting. Use tweezers if needed for precision.
- Check belt fit: The belt should be tight but not overly stretched. If it’s slightly loose, it may need minor stretching to fit properly, but avoid overextending it.
- Clean and Lubricate
- Clean old grease: Use a cotton swab dipped in isopropyl alcohol to remove hardened grease from the tray mechanism and gears. Clean only areas that originally had grease, avoiding gear teeth.
- Apply new grease: Apply a small amount of pure or white lithium grease to the same points where grease was removed (e.g., tray sliders, not gear teeth). Avoid spray-on grease, as it can damage plastic.
- Reassemble the Drive
- Replace the belt cover: Slide the belt cover back into place and secure the tab.
- Reinstall the tray: Carefully manipulate the large black gear to pull the tray back into the drive chassis. Ensure the tray aligns properly and slides smoothly.
- Secure the clamp: Place the clamp back over the spindle and screw it in.
- Reconnect the ribbon cable: If the ribbon cable to the drive was disconnected, reconnect it securely.
- Test the Drive
- Partial reassembly: Place the drive back into the Sega CD case but don’t screw everything in yet. Connect the Sega CD to the Genesis and power on.
- Test tray operation: Check if the tray opens and closes smoothly and if the laser lifts to read a disc. If it works, proceed to full reassembly. If not, double-check the belt placement and tray alignment.
- Final Reassembly
- Secure the drive: Screw the drive back into place.
- Replace the RF shield: Secure the shield with its three screws.
- Replace the top cover: Align the top cover, ensuring the expansion connector fits properly, and screw in the two black screws.
- Secure the bottom: Flip the unit over and replace the six bottom screws.
- Final Testing
- Connect the Sega CD to the Genesis, plug in all cables, and test with a game disc. Confirm the tray operates correctly and the system reads discs.
- If issues persist (e.g., disc not spinning), the problem may involve the laser (e.g., Sony KSS-240A) or a misaligned gear, which requires further repair.
Tips and Warnings
- Belt quality: Some replacement belts are thinner than the original and may not last as long. Source belts from reputable sellers (e.g., eBay’s Long Island Video Games or Amazon listings with good reviews).
- Patience is key: Rushing tray removal can break plastic tabs. Move slowly and follow the tab-release steps carefully.
- Capacitor check: Sega CD Model 1 units often have aging capacitors that can fail. If you’re comfortable soldering, consider replacing them preventatively during this repair.
- Alternative issues: If the tray works but discs don’t read, the laser or spindle height may need adjustment.
- YouTube Tutorials:
- “SEGA Mega CD – How to Replace the Drive Belt Tutorial on a Sega Model 1 SegaCD” (2016)
- “Sega CD – Drive Belt Replacement – High Quality” (2017)
- ConsoleMods Wiki: Detailed guide with figures for belt replacement.
- Reddit Threads: r/SegaCD and r/consolerepair have user experiences and tips.
If you encounter issues or meant a different component (e.g., something in the Genesis itself), let me know, and I can refine the guidance. Good luck with your repair!


Reviews
There are no reviews yet.