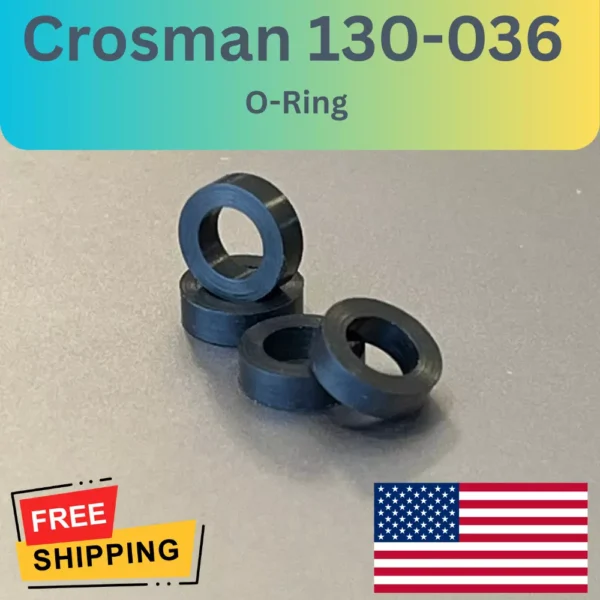
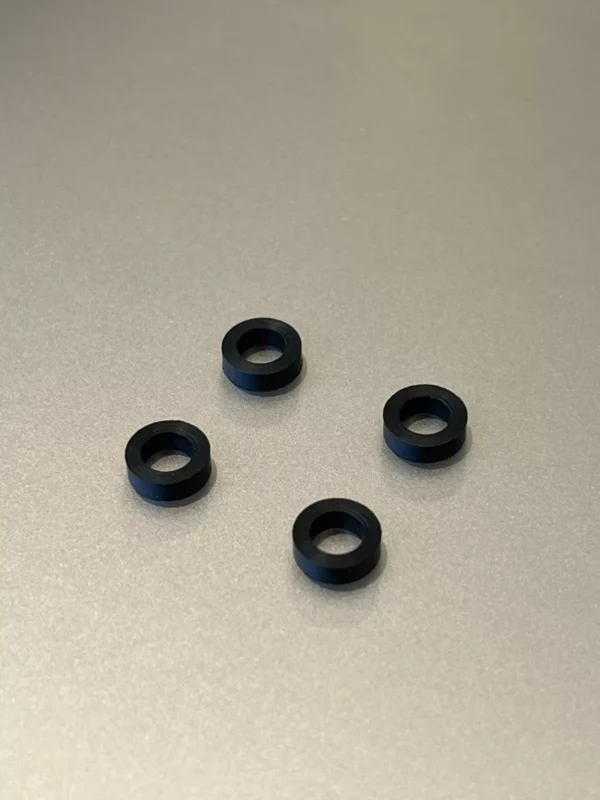
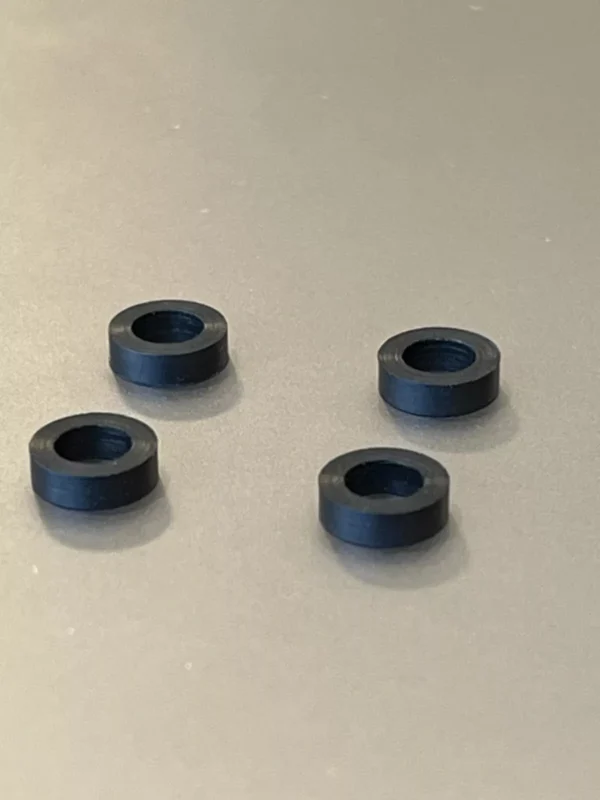
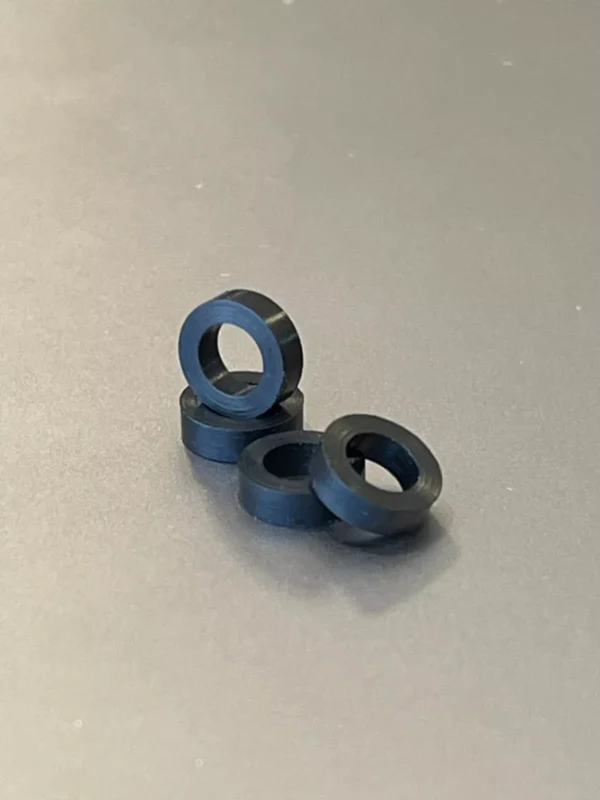
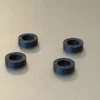
Used as a breech seal as well transfer port sleeve on many Crosman air rifles.
Crafted from NBR rubber to ensure exceptional abrasion resistance and durability for long-lasting performance.
replaceing Part No. 130-036
Replacing the Crosman 130-036 Gasket (Transfer Port Breech Seal) involves accessing and replacing the seal located between the breech and transfer port in your airgun. This seal ensures proper air pressure transfer for firing. Below is a step-by-step guide to help you with the replacement.
Works with the following (click the link for diagram)
Crosman 1377 (American Classic pistol, multi-pump pneumatic) ([link removed by eBay])
Crosman 1322 (Multi-pump pneumatic pistol) ([link removed by eBay])
Crosman 2240 (CO2 pistol)([link removed by eBay])
Crosman 2250 (CO2 carbine/ratcatcher) ([link removed by eBay])
Crosman 1740 (CO2 pistol) ([link removed by eBay])
Crosman 2300 (CO2 target pistol series, including 2300S and 2300T) ([link removed by eBay])
Crosman 2400 (Customizable CO2 airgun series, including 2400KT) ([link removed by eBay])
Crosman 2289 (Backpacker model, multi-pump pneumatic) ([link removed by eBay])
Crosman 140 (Vintage multi-pump rifle) ([link removed by eBay])
Crosman 1400 (Vintage multi-pump rifle) ([link removed by eBay])
Benjamin Discovery (PCP rifle, .177 and .22 calibers)([link removed by eBay])
Benjamin Marauder (PCP rifle, early models like BP1763, BP2263, etc., though some later versions may differ)([link removed by eBay])
Benjamin Sheridan Pistol Models (e.g., HB17, HB22, depending on breech design) ([link removed by eBay])
Tools and Materials Needed
Replacement Crosman 130-036 gasket (transfer port breech seal).
Screwdrivers (flathead or Phillips, depending on your airgun model).
Tweezers or a small pick tool.
Silicone lubricant (airgun-safe).
Cleaning cloth or rags.
Steps to Replace the Crosman 130-036 Gasket
1. Prepare Your Workspace
Work in a clean, well-lit area with a flat surface to avoid losing small parts.
Ensure the airgun is unloaded and depressurized for safety.
2. Disassemble the Airgun
Refer to your airgun’s manual for specific disassembly instructions.
Remove the barrel and breech components to access the transfer port.
Locate the transfer port, which is the channel between the compression chamber and the barrel breech.
3. Remove the Old Gasket
Carefully inspect the gasket (seal) for wear, cracks, or damage.
Use tweezers or a small pick tool to gently remove the old gasket. Avoid damaging the surrounding components.
4. Clean the Area
Wipe the transfer port and breech area with a clean, lint-free cloth to remove dirt, debris, or remnants of the old seal.
Ensure the surfaces are smooth and ready for the new gasket.
5. Install the New Gasket
Apply a small amount of silicone lubricant to the new Crosman 130-036 gasket. This helps with installation and ensures an airtight seal.
Press the new gasket into place in the transfer port or breech area. Ensure it sits snugly and evenly.
6. Reassemble the Airgun
Reattach the barrel and breech components.
Tighten all screws securely but avoid over-tightening to prevent stripping.
7. Test the Airgun
Load a pellet and fire the airgun in a safe direction to test for proper functionality.
Listen for air leaks or reduced power, which may indicate the gasket is not seated correctly.
Maintenance Tips
Inspect the gasket regularly for signs of wear or damage.
Use silicone lubricant during routine maintenance to prolong the life of the seal.
Handle the airgun carefully to avoid unnecessary stress on the gasket.
Breech Seal for Crosman Model 130, 137, 140, 147, 1322, 1377, 1389




Reviews
There are no reviews yet.