The Frugal Fixer
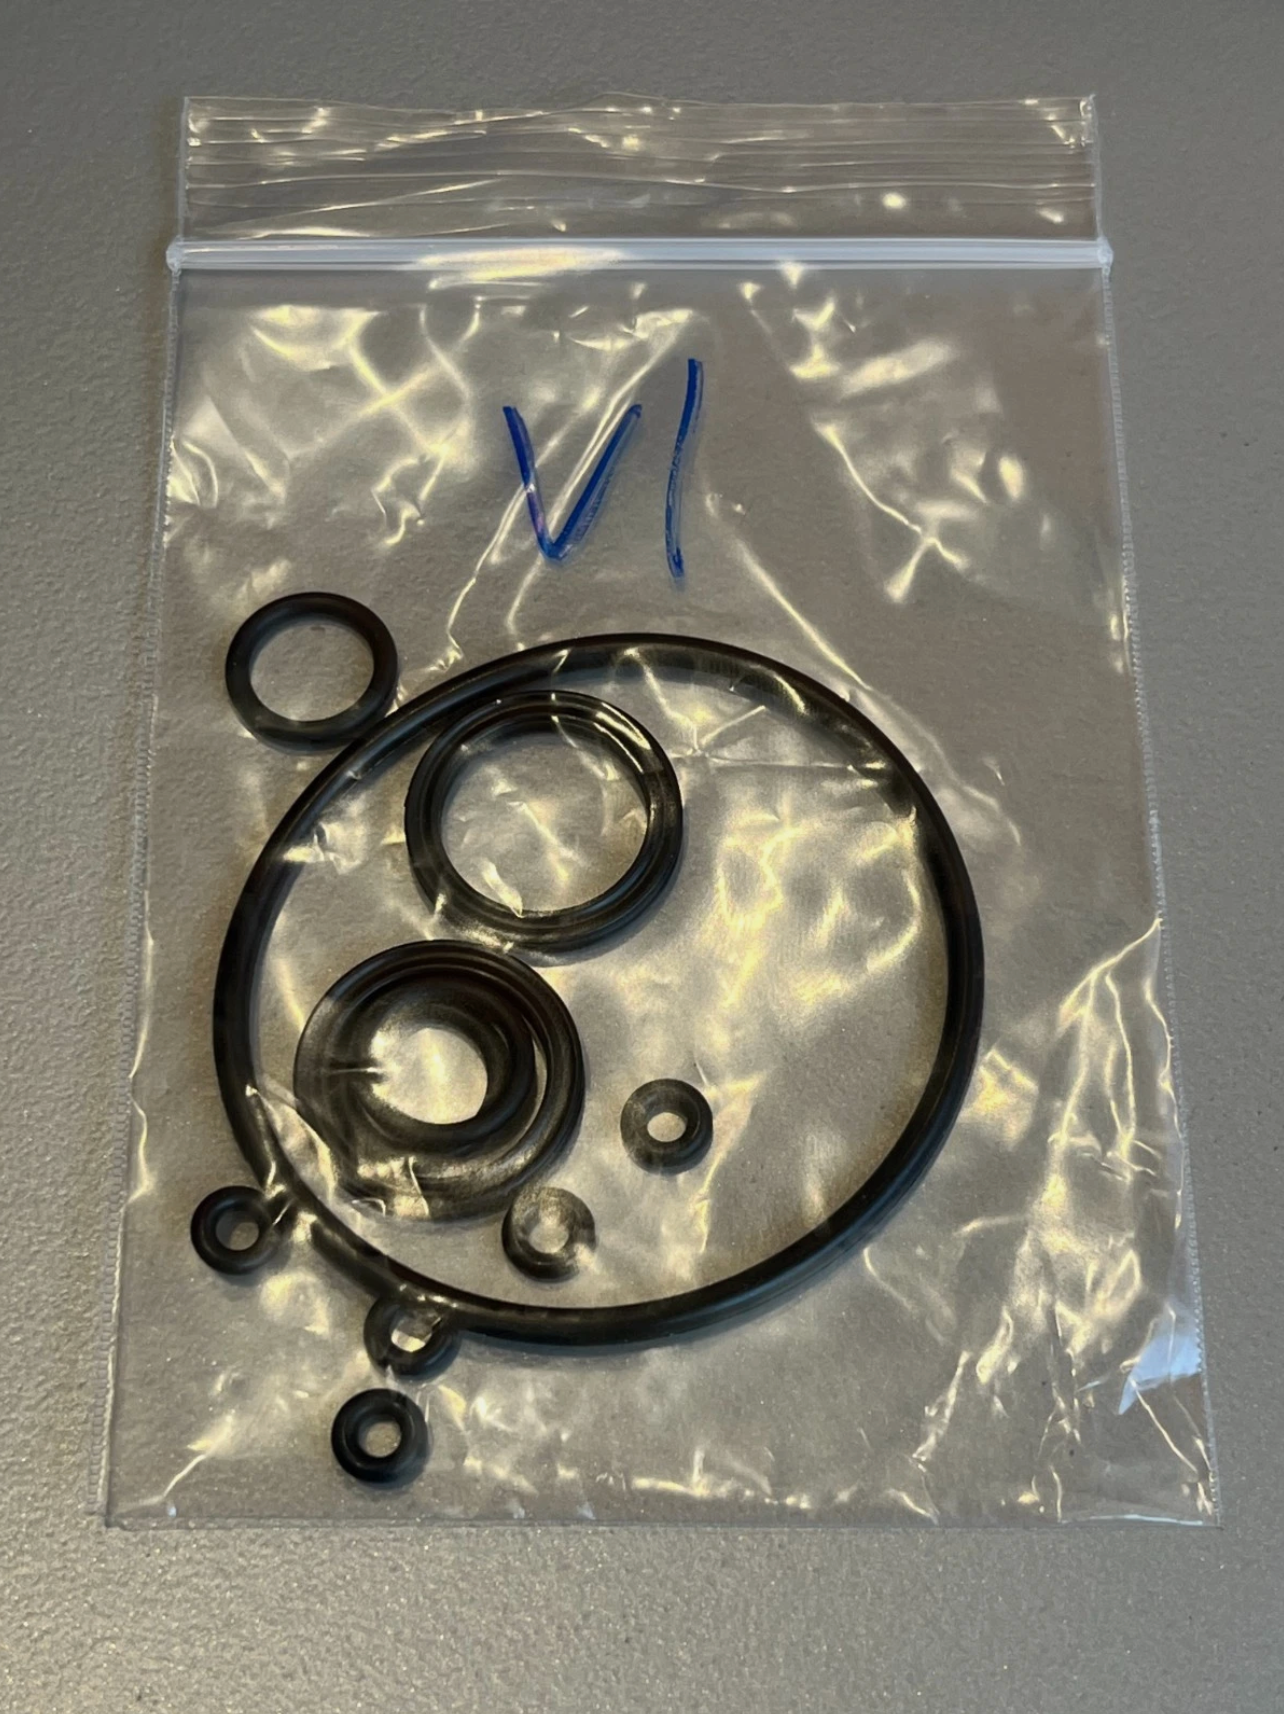
GPR V1 / GPR V2 Steering Damper Rebuild Kit complete X-Profile O-Rings ONLY
GPR V1 / GPR V2 Steering Damper Rebuild Kit complete X-Profile O-Rings ONLY
Couldn't load pickup availability
Rebuilding the GPR V1 and GPR V2 Steering Stabilizer
Recommended Oil
GPR suggests synthetic fork oil:
- Dirt/off-road: 3 wt (e.g., Silkolene or Motul Fork Oil 3W).
- Street: 15 wt (e.g., Bel-Ray High Performance Fork Oil 15W or similar).
These are guidelines—thicker oil increases damping stiffness, lighter allows faster response. Users report success with 10-15 wt for mixed use, but stick to specs. Amount: About 50-100 ml (fill until full with minimal air; exact not specified, but overfill and bleed). Many rebuild kits include or recommend compatible oil.
#### Tools Needed
- SAE and metric hex wrench sets (for screws; V1 V2 uses US threads).
- O-ring pick or small screwdriver (for removal without scratching).
- Garden hose (3" piece, cut square) or syringe for oil filling.
- Clean container for submerging parts in oil.
- Brake cleaner and rags for cleaning.
- Optional: Funnel (but hose is better to avoid spills/air).
- Rebuild kit includes updated X-profile rings for longer life.
Step-by-Step Rebuild Instructions
Combine GPR's oil change guide with user-reported full disassembly for V1 / V2. The process takes 1-2 hours; focus on bleeding air completely.
1. Preparation: Set dial to 1 (softest). Remove stabilizer from bike (reverse install steps). Place upside down on flat surface. Remove two bottom screws to drain old oil; move arm to push it out. Inspect for wear.
2. Disassembly: Separate halves (may require hex wrenches). Remove old O-rings carefully. Clean all parts with brake cleaner. ):
Replace all, even if intact; lubricate new ones with oil.
3. Reassembly and Oil Filling (Critical to Avoid Air):
- Submerge parts in new oil for assembly to eliminate bubbles (best method).
- Or: Reassemble dry, then fill via ports. Use 3" hose pressed into body as a hopper; pour oil in while moving arm to distribute and bleed air. Factory method: Push excess oil through while cycling arm (wastes some but quick).
- Refill with chosen oil (3-15 wt). Move arm back/forth until no bubbles; top off.
- Reinstall screws hand-tight (don't overtighten).
4. Cleanup and Testing:
- Wipe excess oil; wash unit.
- Reinstall on bike. Adjust dial; check for smooth operation and leaks over days.
- Ride test gradually; if spongy, re-bleed air.
Tips from Users
- 15 wt felt "too heavy" to one user pre-ride; adjust based on feel.
- Rebuild kits upgrade to X-profile seals for durability.
- Bad oil ruins units fastest; change yearly regardless of use.
Share