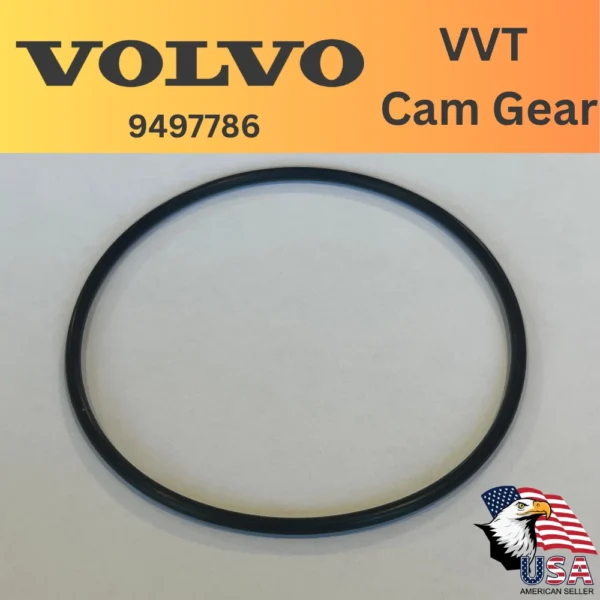
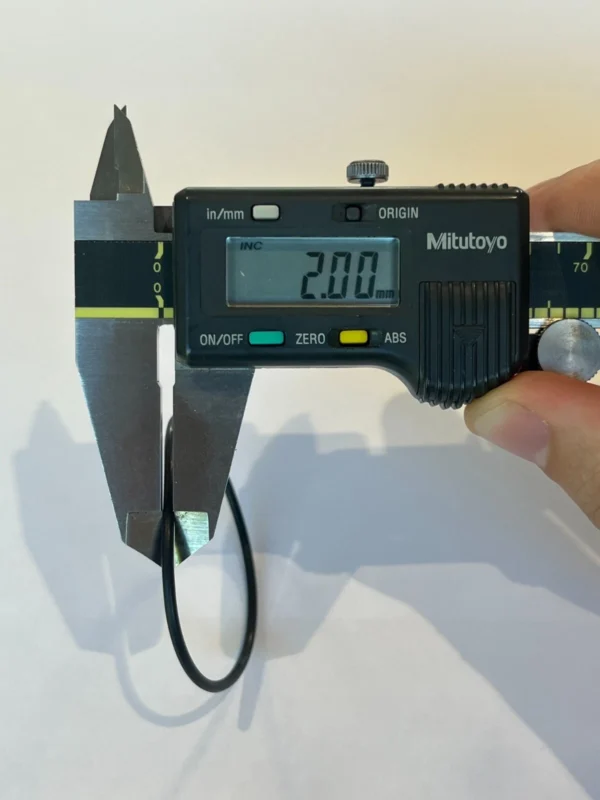
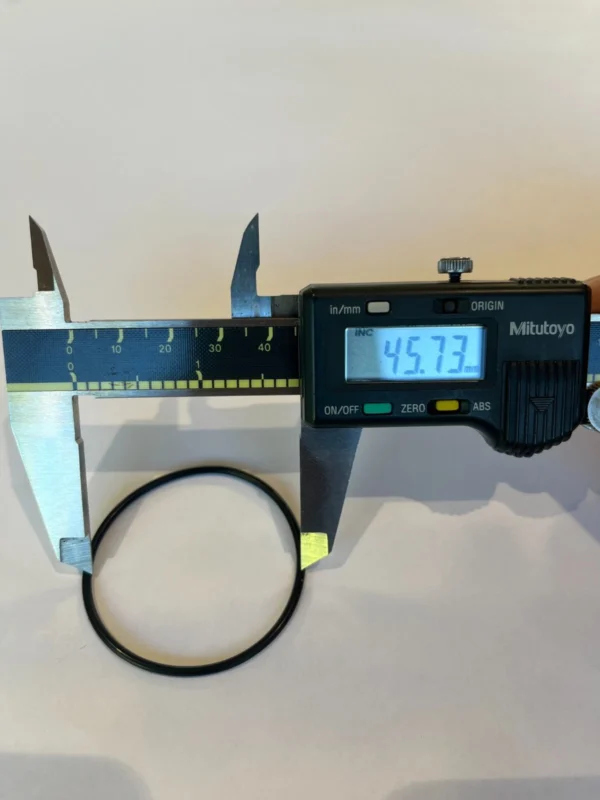
Volvo VVT Hub Camshaft Timing Gear Seal O-Rings 9497786 Volvo S60 S80 V70 XC90
$6.99
What is this?
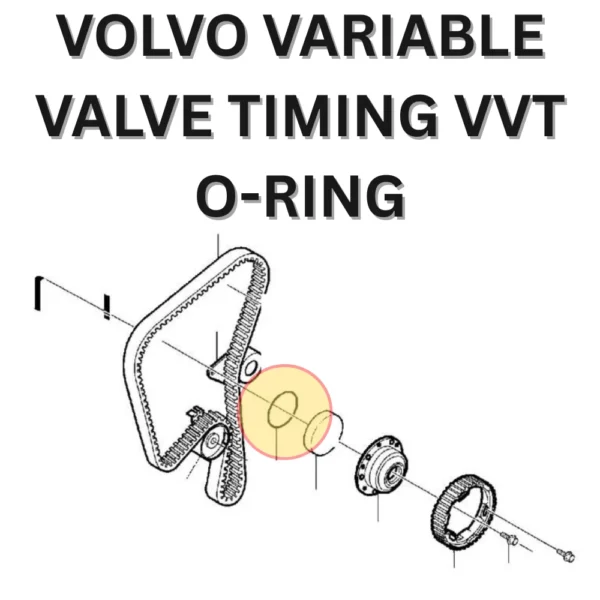
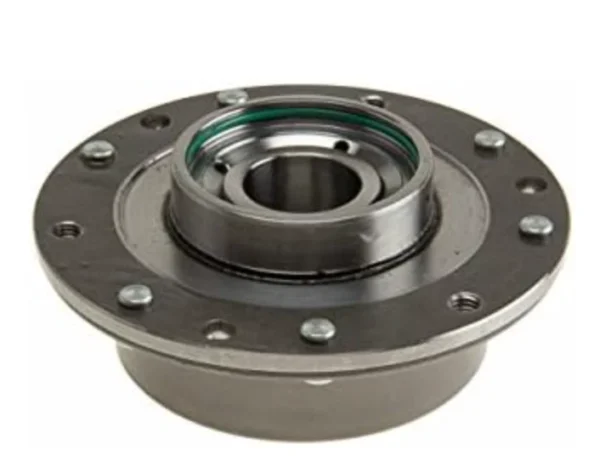
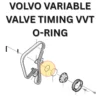
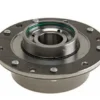
This is a new O-ring seal (Volvo part #9497786) for the Variable Valve Timing (VVT) hub in your Volvo’s twin-cam engine. It fixes leaks between the VVT hub and the camshaft neck, which can cause oil leaks and engine timing issues.
Why do you need it?
Over time, the original O-ring dries out or cracks, leading to:
- Oil leaks around the VVT hub.
- Loss of oil pressure in the hub, which triggers engine timing error codes (e.g., camshaft position errors).
- Replacing the O-ring restores the seal, often clearing these codes and improving engine performance.
Which Volvos use this?
This O-ring fits both intake and exhaust VVT hubs in many Volvo models from 1999–2009, including:
- S60
- S80
- V70
- XC90
It works with various VVT hub types, including:
- Early spring-loaded hubs
- Hubs with yellow, blue, black, or gray housing
- Part #9497786 hubs and others
Important Notes:
- Two hubs per engine: Each Volvo twin-cam engine has two VVT hubs (intake and exhaust), and both use the same O-ring. You may want to order two seals to replace both at once.
- Check compatibility: Review the compatibility chart or confirm with your vehicle’s model, year, and hub type before ordering.
How does it help?
By replacing the worn O-ring, you can:
- Stop oil leaks at the VVT hub.
- Restore proper oil pressure to the hub.
- Clear engine timing codes caused by a faulty seal.
How to Replace the VVT Hub Camshaft Timing Gear Seal O-Rings (Part #9497786) on Volvo S60, S80, V70, XC90
The Variable Valve Timing (VVT) hub camshaft timing gear seal O-rings (Volvo part #9497786) are critical components in the twin-cam engines of Volvo models like the S60, S80, V70, and XC90 (typically model years 1999–2009). These O-rings maintain oil pressure within the VVT hub, ensuring proper camshaft timing adjustments. Over time, the original seals can dry out, crack, or degrade, leading to oil leaks and pressure loss, which can trigger engine timing codes and performance issues. This guide provides a step-by-step process for replacing these O-rings and highlights common issues associated with them.
Tools and Materials Needed
- Replacement O-rings: Volvo part #9497786
- Tools:
- Socket set (including 10mm, 12mm, and Torx T55 for VVT hub)
- Torque wrench
- Camshaft locking tool (Volvo-specific, e.g., 999 5452)
- Crankshaft pulley holder tool (e.g., 999 5433)
- Flathead and Phillips screwdrivers
- Pick tool or small hook for O-ring removal
- Clean rags and degreaser
- Engine oil (for lubrication)
- Optional: Gasket sealant (if reusing timing cover), shop manual for torque specs
- Safety gear: Gloves, safety glasses
Step-by-Step Guide to Replacing VVT Hub O-Ring Seals
Preparation
- Safety First: Disconnect the negative battery terminal to prevent electrical issues. Ensure the engine is cool to avoid burns.
- Access the Timing Belt Area:
- Remove the air intake ducting and any covers obstructing access to the timing belt area.
- Raise the front of the vehicle and secure it on jack stands (if needed for better access).
- Remove the right front wheel and inner fender liner to access the crankshaft pulley.
- Set Engine to Top Dead Center (TDC):
- Rotate the crankshaft (using a socket on the crankshaft pulley bolt) until the timing marks on the crankshaft pulley and camshaft pulleys align with the marks on the engine block and timing cover.
- Use a camshaft locking tool to secure the camshafts in place, ensuring the timing remains correct.
Removing the VVT Hub
4. Remove the Timing Belt:
- Loosen the timing belt tensioner using a socket or wrench, then carefully remove the belt from the camshaft pulleys. Secure the belt to prevent it from slipping off other pulleys.
- Note: If the timing belt is worn, consider replacing it during this repair.
- Access the VVT Hub:
- Remove the upper timing cover (if not already done) by undoing the bolts (typically 10mm or 12mm).
- Loosen the three outer bolts on the VVT hub (these secure the timing gear pulley to the VVT unit). Do not remove them completely yet.
- Remove the center bolt (Torx T55) securing the VVT hub to the camshaft. A crankshaft pulley holder tool may be needed to prevent the camshaft from rotating.
- Remove the VVT Hub:
- Carefully pull the VVT hub off the camshaft. The hub may be snug, so gently wiggle it while pulling to avoid damaging the camshaft or hub.
- Inspect the hub and camshaft neck for wear, corrosion, or scoring, as these can affect sealing.
Replacing the O-Rings
7. Remove Old O-Rings:
- Locate the O-rings on the VVT hub (typically two: one inner and one outer). Use a pick tool or small hook to carefully pry them out of their grooves. Be cautious not to scratch the hub’s sealing surfaces.
- Clean the O-ring grooves and hub surfaces with degreaser and a clean rag to remove oil, debris, or old sealant.
- Install New O-Rings:
- Lightly lubricate the new O-rings (part #9497786) with clean engine oil to ease installation and prevent tearing.
- Gently press the O-rings into their respective grooves, ensuring they are fully seated and not twisted. Double-check for proper fitment.
Reassembling the VVT Hub
9. Reinstall the VVT Hub:
- Align the VVT hub with the camshaft, ensuring the keyway (if present) matches. Slide the hub onto the camshaft.
- Install the center bolt (Torx T55) and lightly tighten it (do not torque yet).
- Rotate the VVT hub clockwise until the outer pulley bolts reach their limit position in the oval slots. Then, turn the hub an additional 1.5 teeth past the timing mark on the upper timing cover (per Volvo’s VADIS instructions).
- Tighten the center bolt to the specified torque (typically 120 Nm; consult a shop manual). Ensure the hub does not rotate during tightening.
- Tighten the three outer pulley bolts to secure the timing gear to the VVT unit (torque to spec, usually 10–12 Nm).
- Reinstall the Timing Belt:
- Reinstall the timing belt, ensuring all timing marks align. Adjust the tensioner to the correct tension (indicator between the “goalposts” on the tensioner).
- Rotate the engine by hand (using the crankshaft pulley) for 3–4 revolutions to verify that the timing marks realign and there is no interference.
- Reassemble Remaining Components:
- Reinstall the timing cover, tightening bolts to spec.
- Replace the inner fender liner, wheel, and any other removed components.
- Reconnect the battery.
Final Steps
12. Start and Test the Engine:
– Start the engine and let it idle. Check for abnormal noises, leaks, or warning lights.
– Use an OBD-II scanner to clear any existing timing-related codes (e.g., camshaft position sensor errors).
– Test-drive the vehicle to confirm smooth operation and proper performance.
13. Inspect for Leaks:
– After driving, check the timing belt area for oil leaks, which could indicate improper O-ring seating or hub installation.



Reviews
There are no reviews yet.